Why Do Alarms Need Monitoring? Real Protection
November 18, 2026
How Do You Choose a Fire Suppression System?
November 19, 2026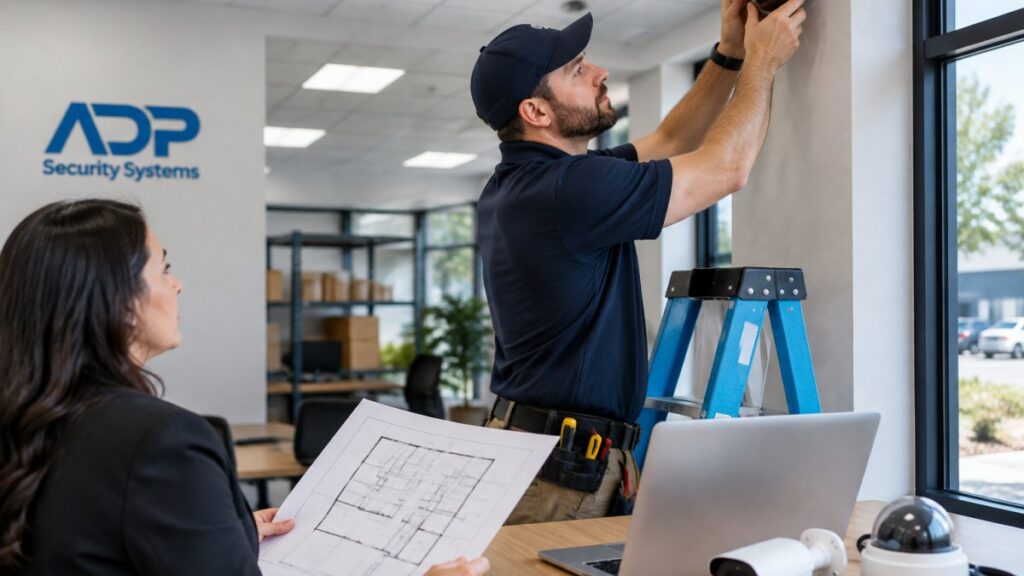
Quick Summary
Plan a security camera layout by walking the site and drawing a floor plan, then giving every camera a specific purpose such as identification, recognition, or observation. Mark entrances and exits, set a pixels-per-foot target for each camera, and check mounting heights and glare before buying equipment.
- Walk every floor and outdoor area during business hours to verify the floor plan.
- Write a one-line purpose statement for every camera, or skip it.
- Identification needs roughly 60 to 80 pixels per foot or more to match a face.
- Mount cameras about 8 to 10 feet high to resist tampering and still capture faces.
- Test each camera at night and confirm timestamps match before final payment.
Table of Contents
- Why a Commercial Security Camera Layout Needs a Plan
- Step 1: Walk the Site and Build a Floor Plan
- Step 2: Define the Purpose of Each Camera
- Step 3: Choose Camera Locations, Mounting Heights, and Fields of View
- Commercial Security Camera Layout Checklist
- Security Camera Placement Diagram: Sketching Your Coverage
- Choosing a Commercial Security Camera Layout Planner and Security Camera Placement Laws
- Commissioning Your Layout Before You Sign Off
- Frequently Asked Questions
Last Updated: November 16, 2026
How do you plan a commercial security camera layout that actually protects your building? Start with a site walk, a floor plan, and a clear reason for every camera you install. Most failed layouts skip the planning and rely on guesswork, which leaves gaps at the exits and wasted coverage in empty hallways. The steps below walk you through that process from start to finish.
Why a Commercial Security Camera Layout Needs a Plan
A security camera layout is the map of where each camera sits, what it sees, and why it is there. Without that map, businesses tend to buy too many cameras in one spot and miss the back door entirely.
Here is what a plan prevents:
- Blind spots near loading docks, side entrances, and stockrooms
- Overlapping views that waste money and storage space
- Poor image quality from cameras pointed into glare or darkness
- Rework costs when cameras must be moved after installation
A plan also gives you something concrete to review with any installer, which makes quotes easier to compare.
Step 1: Walk the Site and Build a Floor Plan
Start by walking every floor, room, and outdoor area that the system must cover. Bring a notepad or a tablet and sketch the layout as you go.

Note the places where people gather, where valuable items are stored, and where cash or inventory moves. Also record power outlets and network access points, since every camera needs both.
Watch out: a floor plan drawn from memory often misses a door or a hallway.
Mapping Entrances, Exits, and Access Routes
Mark every entrance, exit, and route people use to reach sensitive areas. This includes employee doors, delivery doors, fire exits, and parking access points. Each one is a place where a camera should capture faces or license plates clearly.
Consider the routes between these points too. A camera at the front door will not help if the person leaves through a back corridor that has no coverage.
Step 2: Define the Purpose of Each Camera
Before you pick a single camera, decide what each one must do. To see how cameras tie into access control for entry monitoring, review the options. Cameras serve different purposes, and each purpose calls for a different setup.
Common purposes include:
- Identification: capturing faces or plates clearly enough to name a person
- Recognition: confirming a person is someone you know
- Observation: tracking general activity across an area
- Deterrence: showing visible cameras to discourage problems
A camera meant for identification needs a closer position and higher resolution than one meant for general observation. Mixing these purposes is a common mistake.
Set a Measurable Image-Detail Goal for Each Scene
The practical way to stop guessing is to assign every camera a target for how much detail it must capture, then check that target on the floor plan before anyone buys hardware.
A workable rule of thumb many designers use:
- Observation: roughly 20 to 40 ppf is enough to see what is happening and track movement across a lot or corridor.
- Recognition: roughly 40 to 60 ppf lets a viewer confirm that a person is someone they know.
- Identification: roughly 60 to 80 ppf or more is the range where a face can be matched to a person with confidence.
- License plates: plates need a tighter, more controlled view than faces, often requiring a dedicated camera aimed at a choke point rather than a wide scene camera.
These ranges are starting points, not code. Lighting, motion, lens quality, and compression all affect the real result, so treat them as design targets to validate rather than guarantees.
Validate the Goal on the Floor Plan
Once each camera has a purpose and a ppf target, do the math on paper:
- Measure the distance from the planned mounting point to the subject area (the register, the door, the loading dock).
- Note the camera’s horizontal resolution (for example, 1080p is about 1,920 pixels across; 4K is about 3,840).
- Estimate the width of the scene the camera will cover at that distance for the lens you plan to use.
- Divide the horizontal pixels by the scene width in feet to get approximate ppf at the subject.
If the number falls short of the target, you have three levers: move the camera closer, use a narrower lens, or choose a higher-resolution model. Changing the lens is usually the cheapest fix, but it narrows the field of view, so confirm the camera still covers the doorway or aisle it is meant to watch.
Watch out: a camera that hits its ppf target in daylight can still fail at night if infrared range or low-light performance does not reach the subject, so validate the goal under the lighting the scene will actually have.
Write a one-line purpose statement for every planned camera, and add the ppf target and the distance you measured. If you cannot write that line, the camera probably does not need to exist.
Step 3: Choose Camera Locations, Mounting Heights, and Fields of View
Once you know each camera’s purpose, pick its location and mounting height. Mount cameras high enough to resist tampering, but low enough to capture faces.
The field of view is the area a camera can see. For a deeper guide on maximizing coverage at each location, see Security Camera Placement for Maximum Coverage.
Aim cameras to avoid direct light sources. Facing a camera toward a bright window or an unshaded door often washes out the image.
- Check for glare at the same hour the camera will record most
- Confirm the mounting surface can hold the camera’s weight
- Verify that the cable run reaches a power source and the network
Each camera’s purpose sets how much detail it must capture, so the article’s core numbers are worth comparing side by side.
| Camera purpose | Target pixels per foot (ppf) | What it lets a viewer do |
|---|---|---|
| Observation | 20 to 40 ppf | See activity and track movement |
| Recognition | 40 to 60 ppf | Confirm a person is someone known |
| Identification | 60 to 80 ppf or more | Match a face to a person |
| License plates | Tighter, controlled view | Read plates at a choke point |
Commercial Security Camera Layout Checklist
Use this checklist to review your plan before you buy equipment:
- Floor plan drawn and verified on site
- Every entrance, exit, and access route marked
- Purpose written for each camera
- Identification points use higher-detail lenses
Security Camera Placement Diagram: Sketching Your Coverage
A simple sketch helps you see coverage at a glance. Draw each camera as a dot on your floor plan, then draw a wedge from the dot to show its field of view.
Check the sketch for gaps. Any area outside every wedge is a blind spot. Any area inside three or more wedges is probably wasted coverage. Adjust until the sketch matches your priorities.
Choosing a Commercial Security Camera Layout Planner and Security Camera Placement Laws
Layout planning software can speed up the process. To see what a professional installation involves from survey through handoff, read Commercial Security Camera Installation: What to Expect. For a broader overview of options, see Commercial Security Cameras Guide.
Placement rules also matter. In the United States, cameras generally may not record in areas where people have a reasonable expectation of privacy, such as restrooms and changing rooms.
Posting clear signs that cameras are in use is a common practice for businesses. It also supports a written workplace policy that explains what is recorded and who can view the footage.
Commissioning Your Layout Before You Sign Off
Before accepting the installation, test every camera against the plan. Commissioning is not a quick look at the monitor. It is a structured acceptance test that proves each camera does what its purpose statement says, at the times and conditions that matter. Do this before final payment, while fixes are still the installer’s responsibility.
Test Each Camera Against Its Purpose
Work camera by camera with the floor plan and the purpose statements from Step 2 in hand. For each one:
- Confirm the view matches the sketch. Stand in the coverage zone and compare what the camera sees to the wedge you drew. Note any shift in angle or field of view.
- Check focus and exposure. Look for soft focus, motion blur, and washed-out highlights or crushed shadows. A camera that looks fine on a wide monitor can still be out of focus on the subject.
- Verify the identification target. At entrances, registers, and other identification points, have a person stand where a subject would and confirm the face is clear enough to match. If the plan called for plate capture, test with an actual vehicle and plate.
- Test day and night views. Return after dark, or ask the installer to demonstrate night mode. Confirm infrared range reaches the subject and that the image does not bloom or go dark at the edges.
- Check timestamps and time sync. Confirm every camera shows the correct date and time and that all cameras agree. Skewed timestamps make footage hard to use in an investigation.
Document the Acceptance
A verbal walk-through is easy to dispute later. Keep a written record:
- A signed checklist listing each camera, its purpose, and pass or fail
- Screenshots of a day view and a night view for each identification camera
- The final as-built layout showing actual mounting positions, lens choices, and cable routes
- The retention setting and storage capacity as configured
- The date of acceptance and who signed off
Ask your installer to correct any failures and re-test before sign-off. A good commissioning step catches small problems while they are still easy to fix, and the documentation gives you a baseline to compare against if the system is serviced or expanded later.
Ready to put this plan into action? Get a Free Security Assessment from ADP Security Systems, and our team will help you build a commercial camera layout sized to your site.
Frequently Asked Questions
How many security cameras does a business need?
The number depends on the building footprint, the number of entrances and exits, and the high-risk areas identified during the site walk. Start by listing every entry point, cash handling area, storage space, and parking zone that needs visual coverage. Then assign at least one camera to each location that must be identified, not just observed. Many small retail sites end up with eight to sixteen cameras, while larger warehouses may need considerably more. A professional site survey gives you a defensible count rather than a guess.
What is a good field of view for a security camera?
Field of view should match the purpose. Cameras intended to identify a person at an entrance need a narrow, focused view so faces are captured at a usable pixel density. Cameras meant only to observe a broad area, such as a parking lot, can use a wider view. Mounting height and the distance to the subject also shape the result. Test the view during commissioning by walking the target zone and confirming the image is clear enough for its stated purpose.
Are there laws about where businesses can place security cameras?
Yes. Federal law generally allows video surveillance in common areas of a business, but recording audio can trigger wiretapping rules, and cameras must not be placed where people have a reasonable expectation of privacy, such as restrooms or changing areas. Some states have additional notice requirements. South Carolina employers should confirm current state rules and post clear signage in monitored areas. Consult a local attorney before finalizing placement in sensitive areas.
How do you design a CCTV camera layout?
Start with a scaled floor plan, mark entrances, exits, and high-risk areas, and define each camera’s purpose. Sketch proposed camera positions and fields of view directly on the plan, then check for blind spots and overlapping views. Adjust mounting heights and angles, confirm power and network access at each location, and verify that the layout meets the coverage goals you set before ordering equipment.