How to Use Video Verification to Cut False Alarms
November 1, 2026
Commercial Alarm Panel Review for SC Businesses
November 2, 2026
Last Updated: November 1, 2026
Quick Summary
To improve audio clarity on an outdoor security camera, first clear the microphone port and confirm the cables are seated firmly. Then shield the mic from wind, reposition the camera closer to the sound source, and adjust audio gain and filter settings one at a time.
- Clear dust from the mic opening with a soft dry brush or compressed air, never liquid cleaners.
- Use a foam windscreen or cover that sits loosely over the port, leaving an air gap.
- Mount the camera under a porch eave or soffit to cut rain and direct wind hitting the microphone.
- Test audio gain by speaking about three feet from the camera and checking for distortion on loud sounds.
- Change one audio setting at a time and record the same test phrase to compare results.
Table of Contents
- Step 1: Test the Camera Hardware and Connections
- Step 2: Work Through Security Camera Audio Troubleshooting
- Step 3: Choose Outdoor Security Camera Microphone Placement
- Step 4: Reduce Wind Noise on Security Camera Audio
- Step 5: Adjust Security Camera Audio Settings
- Checking Whether the Fix Worked and Staying Within Recording Laws
- Getting Your Outdoor Camera Audio Assessed by ADP Security Systems
- Frequently Asked Questions
Outdoor cameras face harder conditions than indoor ones. Wind, rain, traffic, and distance all compete with the voice you actually want to hear.
A common mistake is assuming the problem is the speaker or the software.
Common causes of muffled outdoor camera audio:
- Wind noise rushing across a small microphone
- Dust, moisture, or debris blocking the mic port
- Audio gain set too low or too high
- Camera mounted far from the spot you want to hear
- Background noise from traffic or nearby machinery
- Loose or damaged audio wiring on the camera
Keep these in mind as you work through the steps below. Each one targets a specific cause, so you can narrow down what is affecting your camera.
Step 1: Test the Camera Hardware and Connections
Start with the hardware. Most clarity problems that look like software issues turn out to be physical.
First, inspect the microphone opening. Use a soft, dry brush or a puff of compressed air to clear dust and debris.
Next, check the cable and connections:
- Confirm the camera’s power and network cables are firmly seated
- Look for cracked insulation or corrosion at the connectors
- Make sure any external microphone cable is fully inserted
Then run a simple test recording.
Watch out: Do not spray liquid cleaners into the mic port. Moisture can cause permanent damage.
The table below summarises the hardware checks and the quick test in this step.
| Check | How to do it | Frequency or time |
|---|---|---|
| Mic opening | Clear dust with a soft dry brush or compressed air | Not specified |
| Cables and connectors | Confirm firm seating; look for cracks or corrosion | Not specified |
| Test recording | Speak at normal volume about three feet from the camera | Not specified |
| Liquid cleaners | Never spray into the mic port | Avoid always |
Step 2: Work Through Security Camera Audio Troubleshooting
If the hardware looks fine, check the software side. Work through these checks in order, since the first few are the quickest to confirm.
- Confirm audio is enabled. Many cameras ship with audio recording turned off or muted in the app.
- Check the live versus recorded feed. Listen to the live stream first, then the saved clip. If only the recording sounds poor, the issue may be compression or storage settings.
- Update the camera firmware. Manufacturers often fix audio bugs in updates.
- Restart the camera. A reboot clears temporary glitches that can distort sound.
- Test on a different network. A weak connection can cause dropouts and choppy audio.
Keep a short log of what you changed and what you heard after each step. This makes it much easier to see which fix worked.
Step 3: Choose Outdoor Security Camera Microphone Placement
Where the camera sits matters as much as its settings. A microphone pointed at a busy road will pick up traffic first and your voice last.
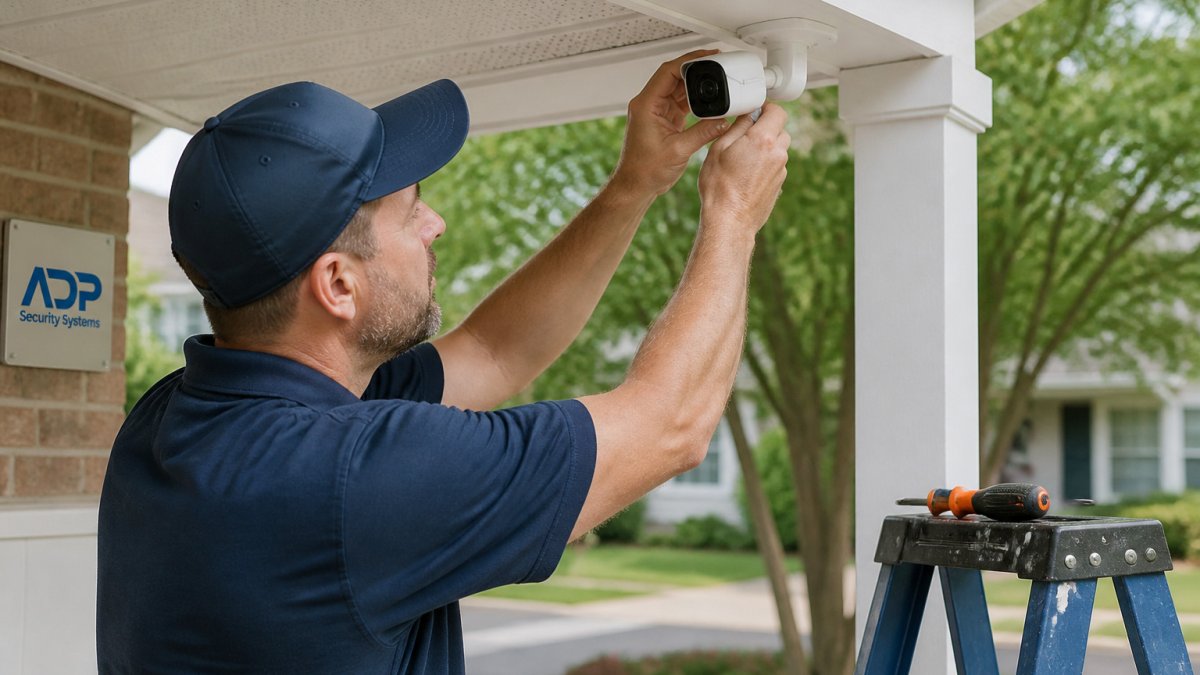
Aim the camera so the sound source you care about is closer than the noise. For more guidance on mounting outdoor cameras in the right spot, consider the mounting angle and height alongside the sound source.
A covered mounting spot helps. Placing the camera under a porch eave or soffit cuts rain and direct wind hitting the microphone. This one change often improves clarity more than any setting.
If your camera supports an external microphone, consider mounting that microphone closer to the area you want to capture. Check your model’s documentation first, because compatibility varies widely.
Step 4: Reduce Wind Noise on Security Camera Audio
Wind is the biggest enemy of outdoor camera audio, and it is also the most misunderstood. For a dedicated guide to diagnosing two-way audio problems, see two-way audio troubleshooting on outdoor cameras. A small built-in microphone does not just pick up the sound of wind; wind creates turbulent pressure fluctuations right at the mic port that the capsule reads as low-frequency rumble far louder than a human voice.
There are two distinct wind problems, and they need different fixes:
- Wind rumble: low-frequency noise that masks speech. Fixed with physical shielding and, secondarily, a high-pass filter.
- Wind-induced clipping: the capsule or preamp overloads and the waveform flattens. Once this happens, the distortion is baked into the recording and no software filter can recover it. Only physical shielding and repositioning prevent it.
Physical shielding that actually works
A foam windscreen or fur cover over the mic port is the first line of defense. The key is fit: the cover should sit loosely over the port with an air gap, not pressed flat against it.
Get a Free Security Assessment →
If your camera has a recessed mic port, a small foam plug trimmed to sit just inside the recess works better than an external cover because it stays put in rain and wind. Check that the plug does not touch the capsule itself.
Repositioning relative to prevailing wind
Walk the mounting area on a windy day and note where gusts hit hardest. Wind accelerates around corners, under eaves, and through gaps between buildings, so the calmest spot is often not the most sheltered-looking one. Face the mic port away from the prevailing wind direction and, where possible, tuck the camera under a soffit or eave so the housing itself breaks the airflow before it reaches the port.
Rain, weather, and housings
Rain hits the mic port as both droplets and splash, and a single droplet sitting over the port can dull audio until it evaporates. If you add a third-party housing or junction box, make sure it does not create a cup that collects water over the mic. After a storm, inspect the port for droplets or debris before assuming the camera has failed.
Software as a second step, not a first
A high-pass filter set around 80-120 Hz can cut wind rumble that survived the physical fixes, and many cameras and NVRs expose this as a “noise reduction” or “audio filter” toggle. Use it after shielding, not instead of it. Filters cannot undo clipping, and aggressive noise reduction can flatten speech, so test with the filter on and off using the same spoken phrase.
Do not spray liquid cleaners or apply pressure near the mic port to “clear” wind noise. Moisture and physical pressure can damage the capsule permanently.
Step 5: Adjust Security Camera Audio Settings
Once hardware and placement are sound, settings decide whether the remaining audio is usable. Settings vary widely by manufacturer and model, so treat the menu names below as a guide and confirm the exact labels in your camera’s documentation or app.
Gain, sensitivity, and AGC
Microphone gain (sometimes called sensitivity) sets how much the preamp boosts the capsule signal. Too low and voices are faint; too high and loud sounds clip, and clipping cannot be undone. Many cameras also enable automatic gain control (AGC), which rides the level up and down.
A practical starting point: set gain so a person speaking at normal volume about three feet away peaks clearly without distortion, then test a loud event (a car door, a dog bark) to confirm it does not clip.
Noise suppression and filters
Noise reduction or noise filter settings target steady sounds like hum and wind rumble. They work best on constant noise and poorly on speech, because aggressive suppression can flatten consonants and make voices sound robotic. Test each filter with the same spoken sentence and compare intelligibility, not just how “clean” the background sounds.
Codec, bitrate, and sample rate
Audio is compressed alongside video, and the codec and bitrate determine how much detail survives. A higher audio bitrate generally preserves speech better, at the cost of storage and bandwidth. Sample rate matters too: a low sample rate can make voices sound thin or muffled regardless of gain. If your camera or NVR lets you choose, favor a higher audio bitrate and a standard sample rate over aggressive compression, and confirm the setting is applied to recordings, not just the live stream.
Separate live audio from recorded playback
A common mistake is tuning settings while listening only to the live view. Live audio, local recordings, exported clips, and app playback can each fail differently. Use this simple test matrix before changing settings:
- Live view clear, recording poor: the problem is compression, storage, or recording settings, not the mic.
- Live view poor, recording clear: the problem is transmission or the live-stream path, such as a weak network link.
- Both poor but exported clip clear: the problem is app playback or decoding on your phone.
- Everything poor: the problem is capture, mic, gain, placement, or shielding.
Run the same spoken test phrase for each row so you are comparing like with like.
Model limitations
Some budget cameras have fixed audio levels and few adjustments, and a few disable audio entirely in certain recording modes. Check the device documentation for what your model actually exposes. When settings are limited, placement, shielding, and an external microphone (if supported) matter more than any menu change.
Change one setting at a time, record the same test phrase, and note the result. A short log prevents you from chasing a fix that was actually caused by a different change.
Checking Whether the Fix Worked and Staying Within Recording Laws
After you make changes, test the result under the same conditions that caused the problem. Record a clip on a windy day, not just a calm one.
Confirm you can reach the audio remotely. Our guide on setting up remote mobile access for security cameras walks through checking live and saved feeds from outside your network.
Recording audio is also regulated. Before you use audio features, check the rules where you live, and post a notice where appropriate.
Getting Your Outdoor Camera Audio Assessed by ADP Security Systems
If you have tried these steps and the audio is still unclear, a professional assessment can save time. ADP Security Systems has served South Carolina for over 30 years.
ADP Security Systems offers 24/7 alarm monitoring and customizable maintenance schedules. Request a free security assessment to find out what your camera needs.
Frequently Asked Questions
Why does my outdoor security camera audio sound muffled?
Muffled audio on an outdoor camera usually comes from one of three causes: the microphone is covered by a dirty or damaged housing, the camera is mounted too far from the sounds you want to hear, or wind is hitting the mic and drowning out speech. Start by wiping the microphone opening and checking for debris. Then move the camera closer to the area of interest and test again. If the sound is still muffled, check the audio settings for a low microphone gain level and look for a wind or noise filter option in the camera’s app.
Can wind noise affect outdoor security camera audio?
Yes. Wind blowing across a small built-in microphone creates a rushing or roaring sound that can hide voices entirely. Mounting the camera under an eave or in a sheltered spot reduces the problem. Some models also let you enable a wind or noise reduction setting. If your camera has no such option, a foam windscreen or a mic cover designed for the model can help without blocking the microphone.
Can I add an external microphone to a security camera?
Only if your camera supports it. Many outdoor cameras have a built-in microphone only, while some models include an audio input or a separate mic accessory. Check the manufacturer’s documentation before buying anything. If an external microphone is supported, place it away from the camera body and wind exposure, and keep the cable run short to avoid interference and signal loss.
How can I test whether my security camera microphone is working?
Record a short test clip while speaking at normal volume about 10 feet from the camera, then play it back on a phone or computer. Repeat the test while standing farther away and again with wind present if possible. If the audio is silent or badly distorted at close range, the problem is likely hardware or settings rather than placement.