Commercial Alarm Panel Review for SC Businesses
November 2, 2026
Smart Lock Retrofit for Deadbolts: What Actually Fits
November 4, 2026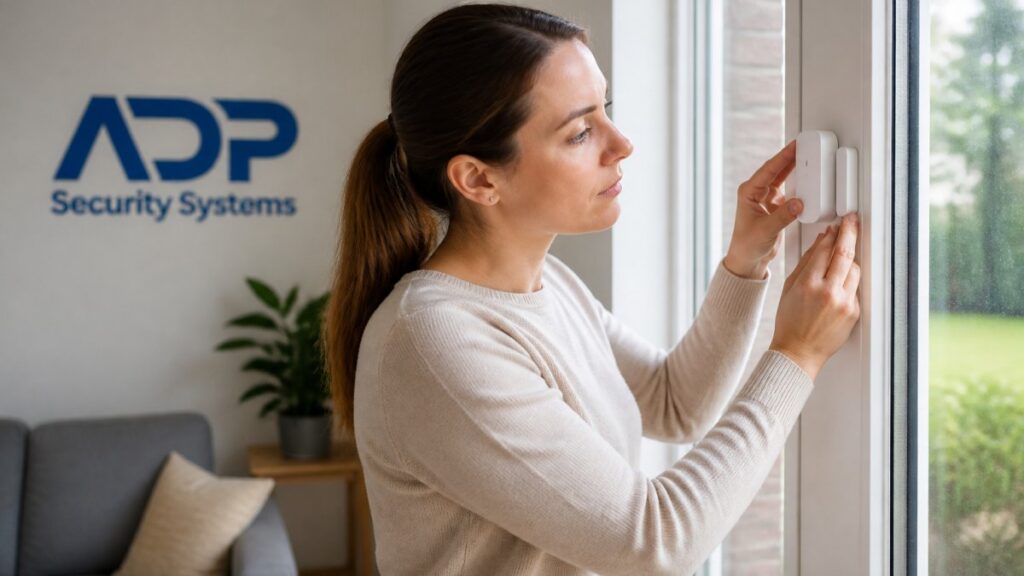
Last Updated: November 2, 2026
Quick Summary
Home security installation without drilling uses adhesive strips, magnetic plates, suction bases, and clamps that hold devices firmly when set up correctly. The right choice depends on the surface, since smooth glass and metal suit adhesives, while brick, stucco, and vinyl siding need clamps or brackets.
- Renters can avoid wall damage that might affect a security deposit.
- Clean surfaces with isopropyl alcohol and let them dry fully before applying adhesive.
- Press adhesive mounts firmly for about 30 seconds and wait the full cure time.
- Check exterior adhesive strips every three to four months in the first year.
- Pair adhesive on door frames with a mechanical backup such as a clamp or bracket.
Table of Contents
- Why Drill-Free Security Installation Makes Sense for Renters and Homeowners
- Choosing the Right Surface: A Compatibility Guide for Walls, Doors, Windows, and Siding
- How to Install Security Camera Without Drilling: Adhesive, Magnetic, and Clamp Mounts
- No-Drill Outdoor Security Camera Mount Options and Weather Performance
- Door and Window Sensors, Power Options, and Cable Management Without Drilling
- DIY Home Security Installation Without Drilling: Steps, Pros, and Mistakes to Avoid
- What Drill-Free Home Security Costs and When to Book a Professional Assessment
- Frequently Asked Questions
Why Drill-Free Security Installation Makes Sense for Renters and Homeowners
Home security installation without drilling is the smart choice for anyone who wants protection without permanent damage. We hear the same concern again and again: people want to protect their homes but cannot always make holes in the walls.
Renters face the clearest case. Many leases ban wall modifications, and a damaged wall can cost you part of your security deposit. Homeowners have other reasons. They may want flexibility to move a camera later, or they may prefer to avoid cutting into vinyl siding and brick.
Drill-free mounting can use adhesive strips, magnetic plates, suction bases, and clamps. These options hold devices firmly when set up correctly.
The real question is whether the mount suits the surface and the device’s weight.
- Renters can avoid wall damage that might affect a deposit
- Homeowners can avoid cutting into siding and brick
- Devices can be moved as your needs change
Choosing the Right Surface: A Compatibility Guide for Walls, Doors, Windows, and Siding
Surface type decides which mount will work, and the difference between a mount that holds for years and one that fails in a week usually comes down to porosity, texture, and how much the surface moves. A mount that grips painted drywall can slide off textured stucco or pop free from vinyl siding within days.
Smooth, non-porous surfaces (glass, metal, glazed tile, glossy trim). These are the easiest surfaces for adhesive mounts. Glass and powder-coated metal give the adhesive a continuous, low-energy surface that wets out well. Clean with isopropyl alcohol, let it flash off completely, and press the plate for the full 30 seconds the manufacturer specifies.
Painted drywall. Standard drywall paper is porous, and the paint film is the only thing holding the adhesive. Flat and matte paints have a rougher, more porous film that lets the adhesive peel from the edges under load; satin, semi-gloss, and gloss paints hold better because the film is smoother and less permeable.
Brick and stucco. Both are rough and porous, and standard foam adhesive strips do not make full contact across the texture. Adhesive holds only on the high points, so the effective bond area can be a fraction of the strip.
Vinyl siding. The panels flex, expand, and contract with temperature, and the surface is often textured. Adhesive bonds to the panel, but the panel itself moves, so the bond is only as stable as the siding.
Wood trim and door frames. Painted wood trim is a good adhesive surface if the paint is intact and glossy. Bare or weathered wood is porous and absorbs the adhesive’s carrier, which weakens the bond. Check for loose paint before mounting; adhesive will pull failing paint off the trim when you remove the mount.
Doors and windows specifically. Door and window frames are high-traffic surfaces that get slammed, which sends shock loads through the mount.
Before you apply any adhesive, clean the spot with isopropyl alcohol and let it dry fully. Dust, oil, and sunscreen residue are the most common reasons adhesive fails.
- Glass and metal: Strong adhesive hold, easy surface prep; test metal for magnetism before choosing a magnetic mount
- Painted drywall: Gloss and semi-gloss hold better than flat; use a strip rated for 1.5 times the device weight
- Vinyl siding: Clips that hook the panel lip or clamps on railings and gutters work best
- Brick and stucco: Rough surfaces need a clamp, bracket, or a mount rated for rough surfaces; standard strips make partial contact
- Wood trim: Intact glossy paint holds; bare or peeling wood does not
- Doors and windows: Pair adhesive with a mechanical backup on doors; keep adhesive off sun-baked glass
How to Install Security Camera Without Drilling: Adhesive, Magnetic, and Clamp Mounts
Adhesive mounts are the most common drill-free option for indoor cameras. Clean the surface, press the mounting plate firmly for about 30 seconds, and wait the full cure time before you hang the camera. Rushing this step is a common mistake.
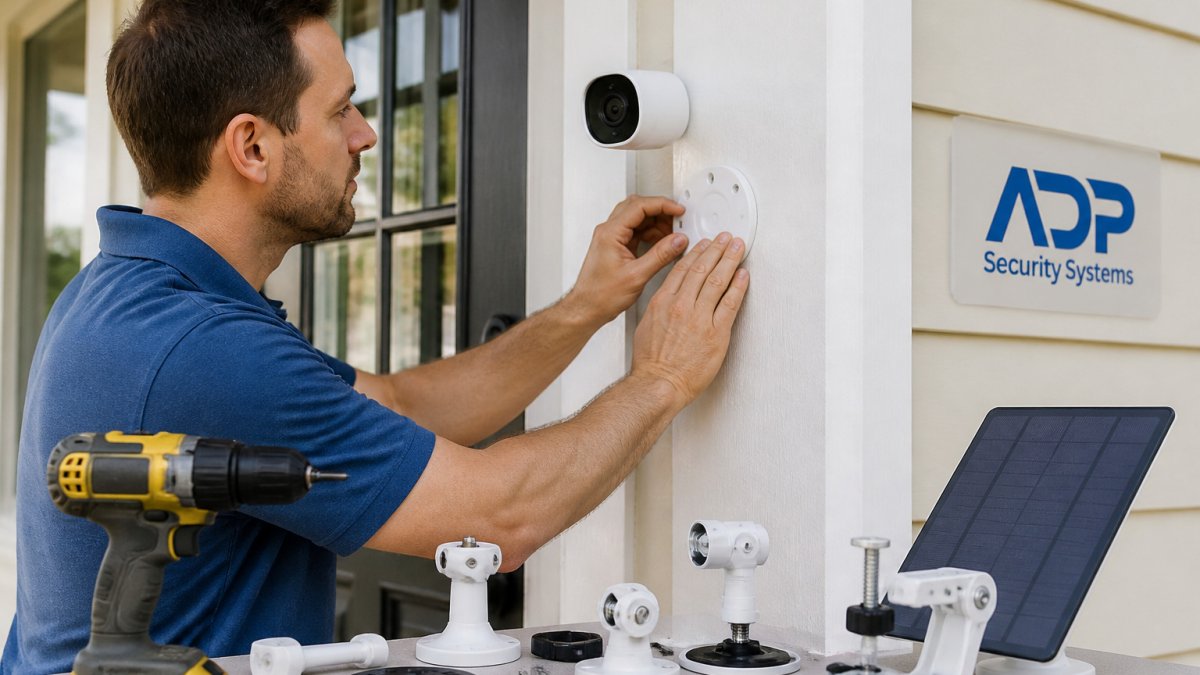
Magnetic mounts work well on metal door frames and steel surfaces. They allow fast adjustment, but make sure the magnet is strong enough for the camera’s weight.
Clamp and bracket solutions suit railings, poles, and gutters. They grip without adhesive and remove cleanly. Tighten them enough to hold, but not so much that they mark the material.
Start with the adhesive or clamp that matches your surface. Test the mount before you rely on it for overnight coverage.
The article’s three drill-free mount types each suit different surfaces, as summarised below.
| Mount type | Best for | Key note |
|---|---|---|
| Adhesive | Indoor cameras on clean surfaces | Press about 30 seconds, then wait full cure time |
| Magnetic | Metal door frames and steel | Check the magnet is strong enough for the camera’s weight |
| Clamp or bracket | Railings, poles, and gutters | Tighten enough to hold without marking the material |
No-Drill Outdoor Security Camera Mount Options and Weather Performance
Outdoor installations face heat, rain, sun exposure, and freeze-thaw cycles, and adhesive performance outdoors is a different problem from indoor mounting. Most adhesive strips are pressure-sensitive acrylics or synthetic rubbers, and both degrade on a predictable curve when exposed to ultraviolet light and temperature swings.
How UV and heat degrade the bond. Ultraviolet light breaks the polymer chains in the adhesive, which makes the strip stiffer and less tacky over time. Heat accelerates the process: an adhesive rated for indoor use may soften above roughly 120°F to 140°F at the bond line, and a dark camera housing in direct summer sun can reach surface temperatures well above ambient.
How cold and moisture affect it. Freeze-thaw cycles are hard on adhesive because water can wick under the edge of the strip, freeze, and lift the bond. Rain alone is usually less damaging than standing water at the bond line, which is why mounting under an eave or a soffit extends the life of the adhesive significantly.
Get a Free Security Assessment →
Clamps and brackets outdoors. Clamps and brackets often hold up better outdoors because they do not depend on a chemical bond. The failure mode shifts from adhesive degradation to corrosion and loosening. Look for corrosion-resistant metal (stainless steel or coated hardware) or UV-stable plastic, and check the tightening every season, because thermal expansion loosens clamps over time. A clamp that was snug in fall can be loose by spring.
A realistic outdoor maintenance schedule. Check adhesive mounts every three to four months in the first year, then every two to three months after that. Press on the mount to feel for lift at the edges; a soft or gummy edge means the adhesive is failing. Replacing the strip before it fails is cheaper than replacing the camera. If the mount is on a surface that gets direct afternoon sun, expect a shorter service life and plan to replace the strip annually.
Positioning to extend mount life. Mount under an eave, soffit, or porch ceiling when possible to reduce direct rain and sun. Keep the camera out of the path of sprinklers, which deposit mineral film on the lens and the adhesive. Angle the housing so water runs off rather than pooling at the base.
Watch out: A camera that has held for a year is not proof the adhesive is still good; UV degradation is cumulative and the failure often happens suddenly after a hot or cold snap, so replace exterior adhesive strips on a schedule rather than waiting for a drop.
Door and Window Sensors, Power Options, and Cable Management Without Drilling
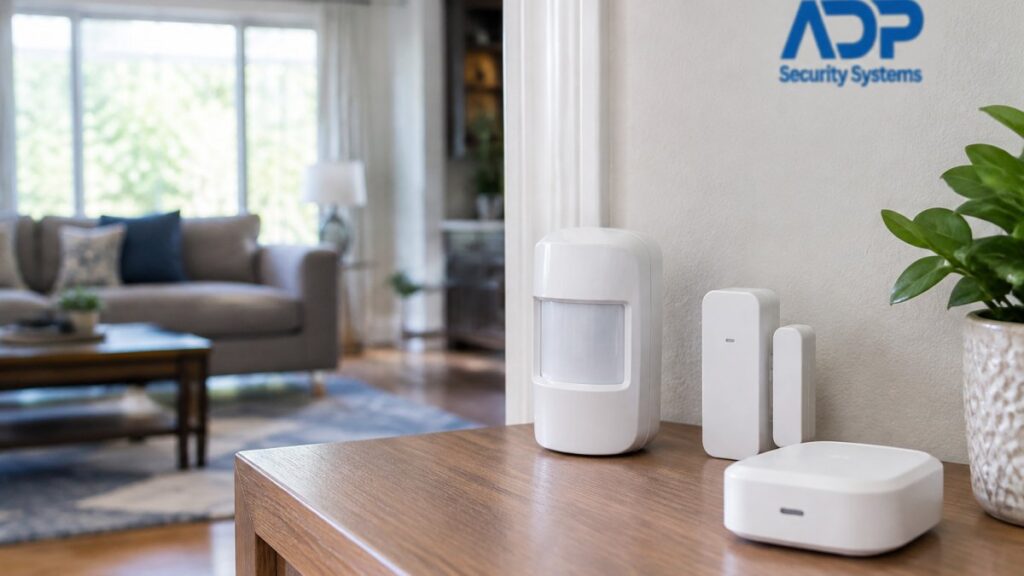
Door and window sensors usually stick to the frame with adhesive. Place the magnet on the moving part and the sensor on the fixed frame, with the gap kept small. Test the sensor after installation so you know the alarm triggers correctly.
Battery-powered wireless devices avoid running wire, which is the main advantage of drill-free setups. Wired devices need a power source, so plan outlet locations before mounting. Use cable clips or adhesive channels to route cords along baseboards and trim.
Power cable management keeps the installation neat and safe. Loose cords can be tripping hazards, so secure them along walls rather than leaving them across floors.
DIY Home Security Installation Without Drilling: Steps, Pros, and Mistakes to Avoid
A simple DIY process follows these steps:
- Choose the device location and confirm wireless signal strength.
- Clean the surface with isopropyl alcohol and let it dry.
- Apply the adhesive or clamp and press firmly.
- Wait for the full cure time before mounting the device.
- Connect power or insert batteries.
- Test the device and the app or alarm connection.
Pros of DIY: Lower upfront effort, flexible placement, easy to adjust.
Cons of DIY: Requires careful surface prep, and mistakes can cause devices to fall.
A common mistake is skipping the cure time. Another is mounting a heavy camera on a weak adhesive strip. Check the weight rating before you buy.
Watch out: Heavy cameras on standard adhesive strips can fall during extreme heat. Choose a rated mount or ask a professional to confirm.
What Drill-Free Home Security Costs and When to Book a Professional Assessment
Costs vary with the number of devices, the mount types, and the monitoring plan you choose. Pricing depends on the number of devices, the mount types, and the monitoring plan you choose. Please request a quote for current figures tailored to your property.
A professional assessment makes sense when your home has older wiring, unusual surfaces, or multiple entry points. A professional can review your layout, recommend mounts that suit each surface, and explain monitoring options. Contact ADP Security Systems for a free security assessment to plan your drill-free installation with confidence.
Frequently Asked Questions
How do you mount a security camera without drilling holes?
Use a mount designed for non-invasive installation, such as a heavy-duty adhesive bracket, a magnetic base for steel surfaces, or a clamp that grips a railing, pole, or gutter. Clean the surface with isopropyl alcohol first and let it dry completely, since dust, oil, and moisture are the most common reasons adhesive fails. Press the bracket firmly for the time the manufacturer specifies before adding the camera, and avoid mounting on textured or unpainted siding where the adhesive bond is weaker.
Are no-drill outdoor security camera mounts secure in bad weather?
They can be, but performance depends on the mount type and the surface. Adhesive mounts are rated for specific temperature and humidity ranges, and long-term UV exposure and repeated freeze-thaw cycles can weaken the bond over time. Check the product’s stated weather rating, inspect the mount every few months, and reapply or replace it if you notice lifting or residue buildup. Clamp-style mounts often hold up better outdoors because they do not rely on adhesive alone.
How much does no-drill home security installation cost?
Pricing depends on the number of devices, the mounting method, the equipment chosen, and whether you install it yourself or hire a professional. ADP Security Systems does not publish standard prices for this work, so the most accurate figure comes from a site assessment. Visit the ADP Security Systems website or request a free security assessment to receive a quote based on your property and goals.
Can you install home security sensors without drilling?
Yes. Door and window sensors commonly use adhesive tape or mounting pads, and motion sensors can be placed on shelves, corners, or brackets that do not require holes. Make sure the sensor and magnet align within the distance the manufacturer specifies, and test the system after installation. For older homes with existing wiring or for systems that need a stronger connection, a professional can advise whether a wired or hybrid approach is better.
Frequently Asked Questions
Can I install security cameras without drilling?
Yes. Adhesive, magnetic, and clamp mounts work for many indoor and outdoor cameras when matched to the right surface and weight.
Will adhesive mounts damage my walls?
Quality removable adhesives can come off cleanly when removed slowly, but results depend on the surface and the paint.